

Luma 이미지 → 비디오의 장점
- 이미지 애니메이션: 정적 이미지를 부드럽고 역동적인 비디오로 변환하여 이미지에 생명과 움직임을 불어넣습니다.
- 프롬프트 기반 모션: 텍스트 프롬프트가 비디오의 모션 효과를 결정합니다.
- 카메라 제어: Luma 컨셉 기능이 카메라 움직임을 제어하여 전문적인 촬영을 지원합니다.
- 유연한 이미지 입력:
first_image,last_image또는 둘 다에서 작동합니다. - 조정 가능한 출력: 비디오 해상도와 재생 시간을 조정할 수 있으며, 모델 파라미터를 통해 다양한 비디오 생성 모델을 선택할 수 있습니다.
Luma 파트너 노드를 이용한 이미지에서 비디오 워크플로우
Luma Image to Video 노드는 비디오의 모션 효과를 결정하는 텍스트 프롬프트와 함께 하나 이상의 이미지 입력(first_image 또는 last_image)이 필요합니다. 이 가이드에서는 first_image와 luma_concepts를 사용한 예제를 만들어 Luma AI의 비디오 생성 기능을 소개합니다.
1. 워크플로우 다운로드하기
워크플로 정보는 아래 비디오의 메타데이터에 포함되어 있습니다. 비디오를 다운로드하여 ComfyUI로 드래그하면 워크플로가 로드됩니다.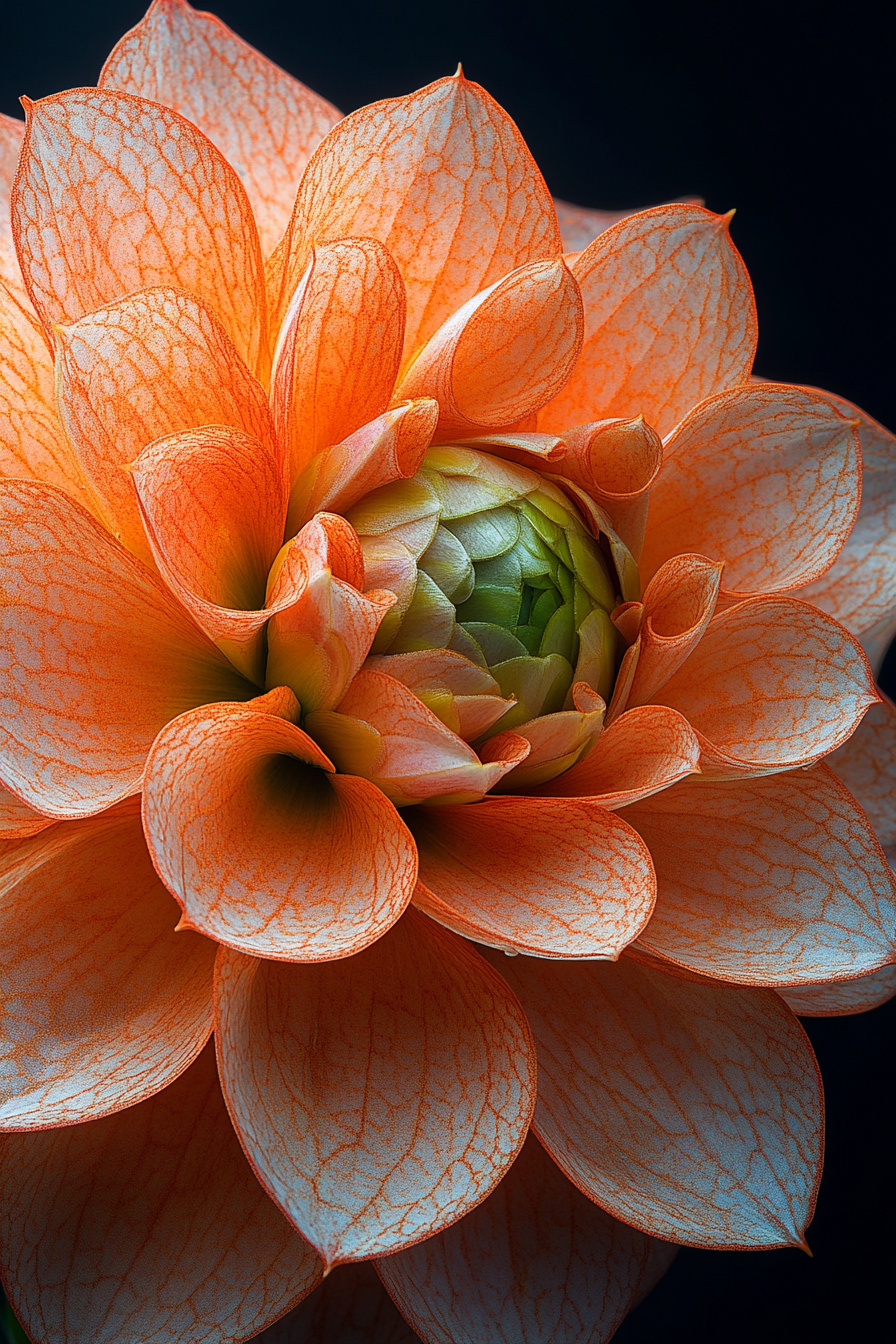
2. 워크플로우 단계 따라하기
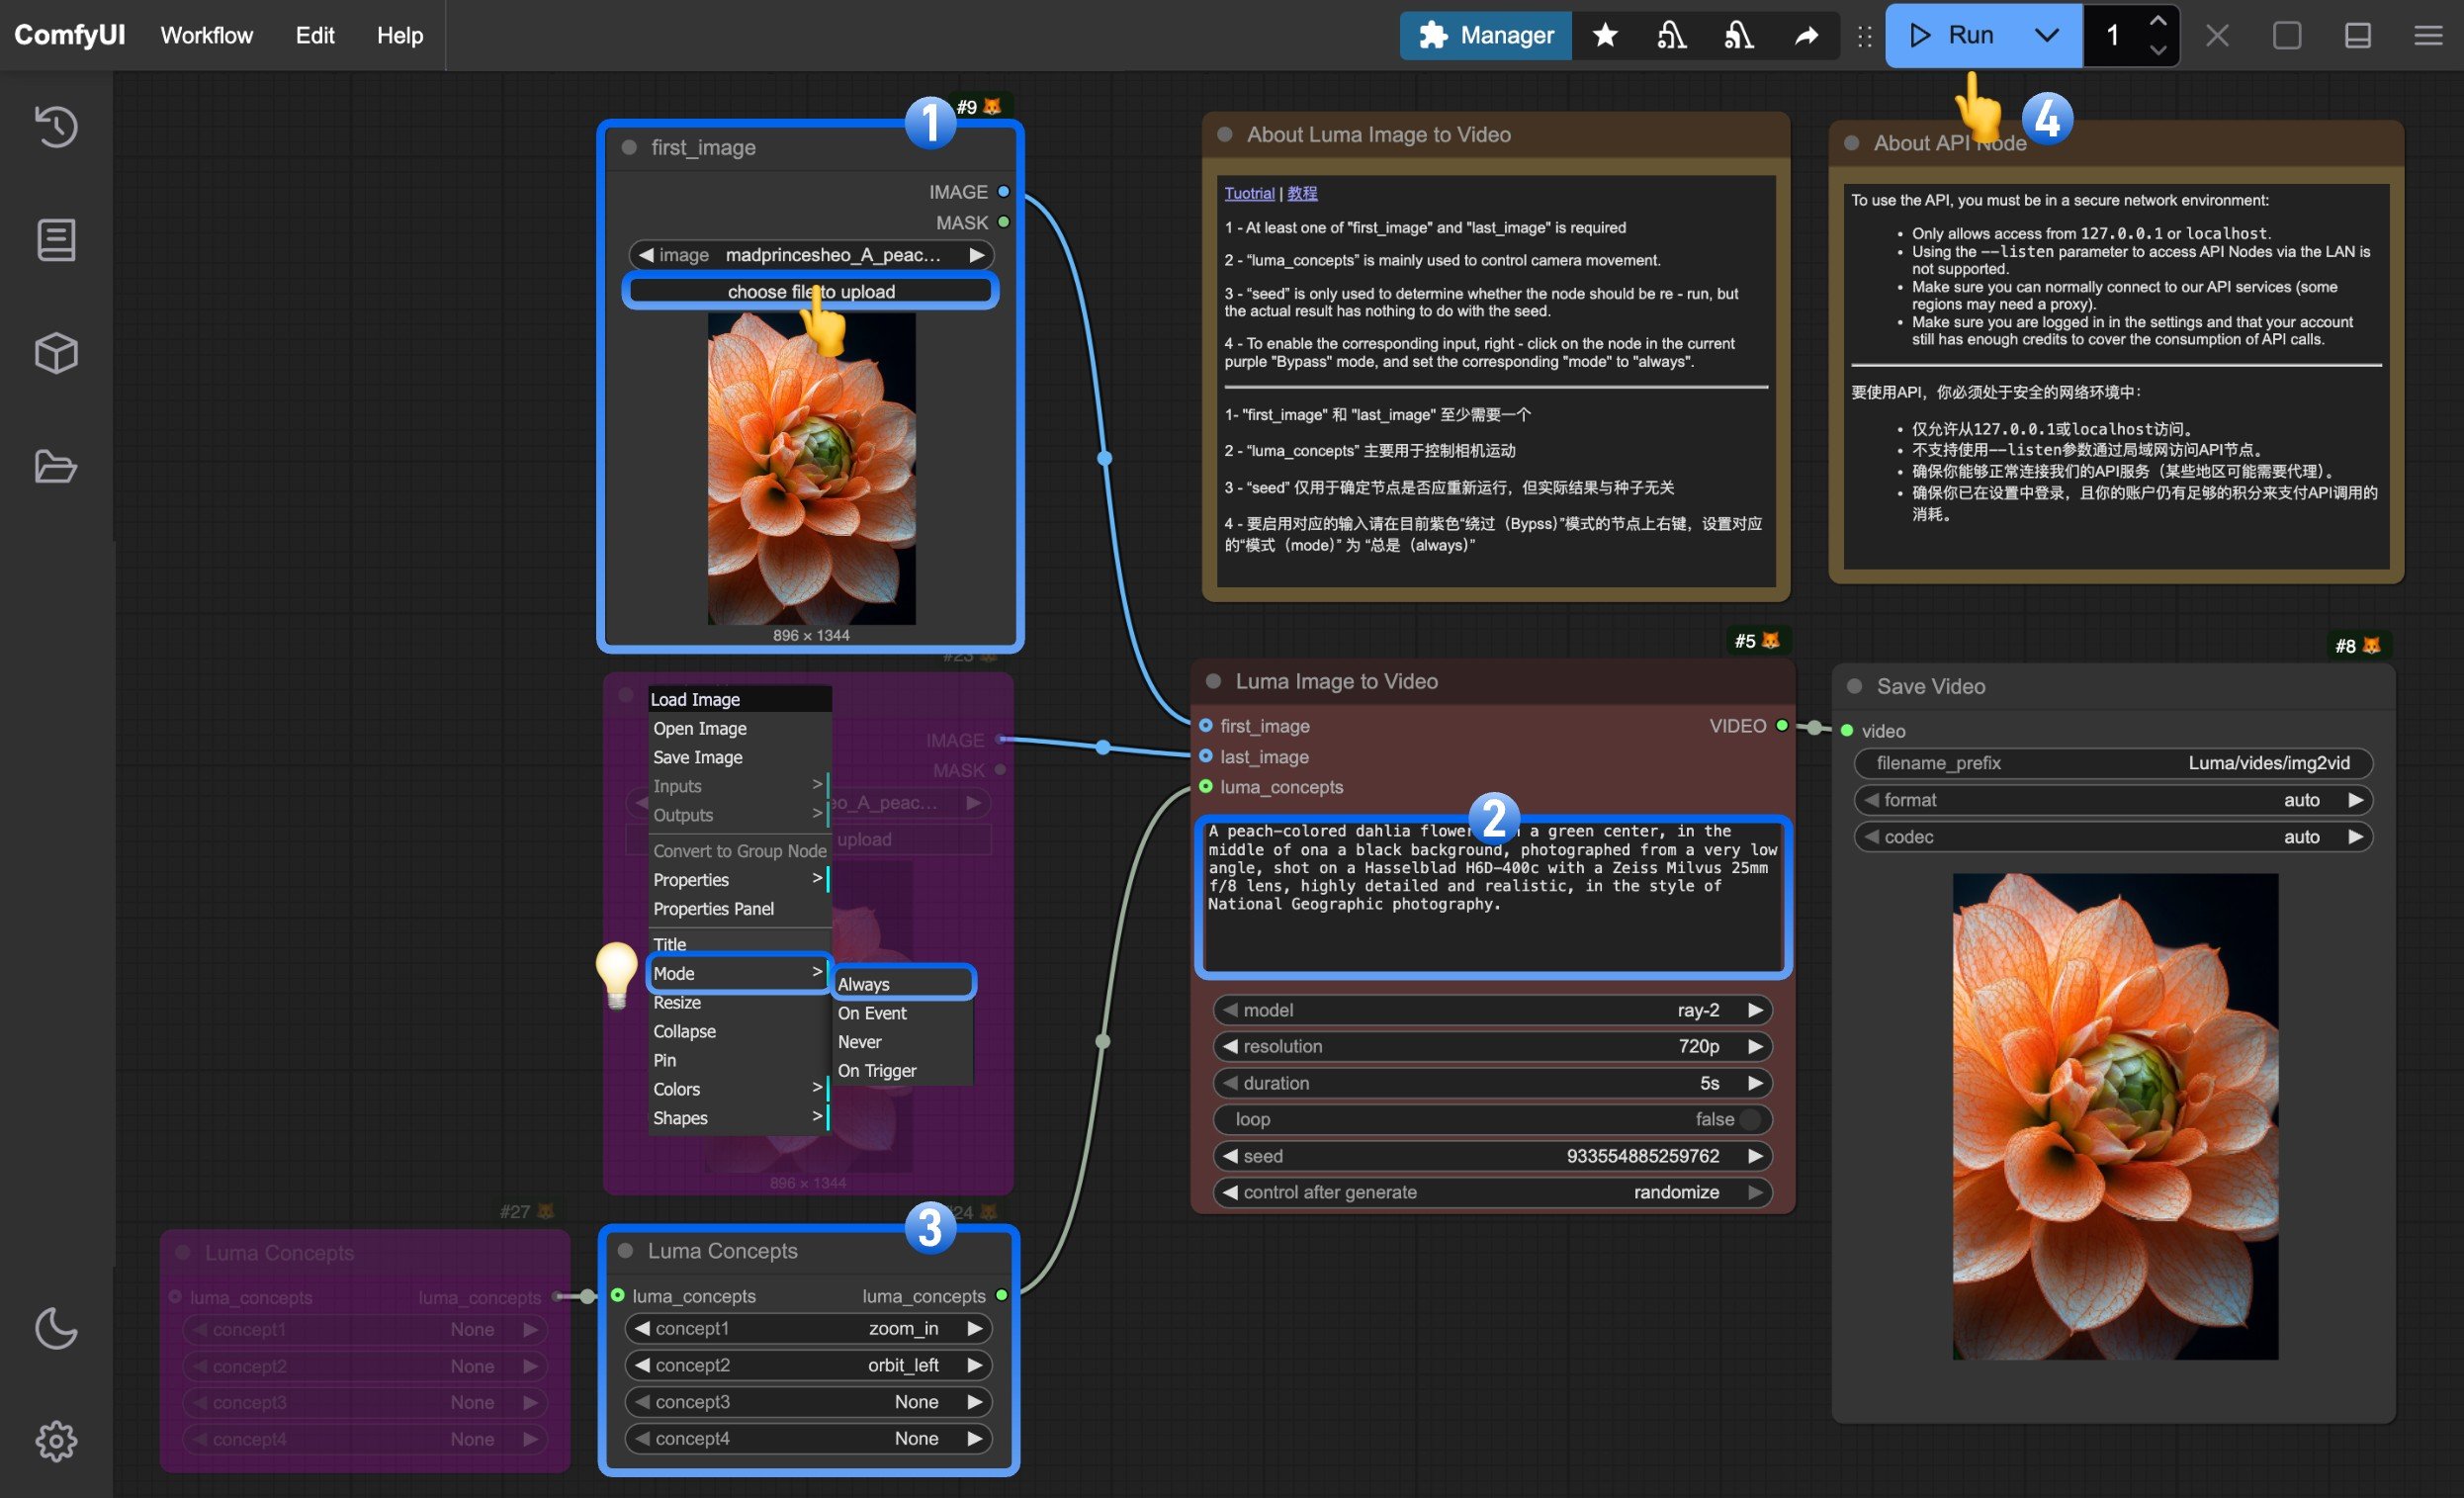
- Upload your input image in the
first_imagenode - (Optional) Write prompts in the Luma Image to Video node to describe how you want the image animated
- (Optional) Modify the
Luma Conceptsnode to control camera movement for professional cinematography - Click
Runor useCtrl(cmd) + Enterto generate the video - Once the API returns results, view the generated video in the
Save Videonode. The video will also be saved to theComfyUI/output/directory
3. 추가 참고사항
- Image Input Requirements: At least one of
first_imageorlast_imageis required, with a maximum of 1 image per input - Luma Concepts: Controls camera movement for professional video effects
- Seed Parameter: Only determines if the node should rerun, doesn’t affect generation results
- Enable Input Nodes: Right-click on purple “Bypass” mode nodes and set “mode” to “always” to enable inputs
- Model Selection: Different video generation models have unique characteristics, adjustable via the model parameter
- Resolution and Duration: Adjust output video resolution and length using resolution and duration parameters